February 12, 2012

Day 34

Charlie checking things out
Sorry I haven't had an update in a while. The fact of the matter is there just hasn't been much to do. I'm just waiting to aquire some pieces for decorating but we did pull a few pieces we already had in the house together this week, and we got a mattress. So the room is fully functional now, even if it isn't finished to the point I would like. We have a crib with bedding, a changing table/dresser, a diaper genie, a bookshelf, and a rug. The things I am still looking for are a glider and ottoman, a changing pad for the table, wall art, the valance and the hamper that match the bedding set, and a lamp/nightlight. I have some of that sitting on my registry but if I find it first for a good deal I will buy it myself.


Buying the mattress was like a huge deal to me the hormones were raging and I felt like it was the biggest decision of my life and I had to get the perfect one that was really safe, and yet comfortable, and affordable. I shopped and online shopped, I compared prices and looked for the best sales, and scoured craigslist. Then I reviewed every "deal" I found and tried to get as much information as possible. I was driving D crazy haha. At one point about a week ago we had a mattress given to us for free. It was okay probably safe enough, and it was free so I tried to be okay with it, but it just wasn't good enough I just couldn't risk it. The mattress that didn't make the cut was a Serta Perfect Sleeper. I think it would make a great toddler mattress, but I felt it was just a little too soft for a newborn.
Sticker on the mattress
So yesterday a Simmons Baby Beautyrest Back Care VII showed up on craigslist for $35. Being the wary neurotic mattress shopper I had become I researched it like crazy and I couldn't find a single bad review! It has over 200 15 gauge coils, individually pocketed for reduced movement. A 9 gauge continually welded border wire, double padding, fabric binding, air vents, and an antimicrobial vinyl waterproof cover. Of course despite the good reviews, I still wasn't ready to just commit blindly so I emailed and asked if it would be okay for me to look at it first and then decide. That way I could see what the house looked like, determine if they had smoked and such, and check the condition/ quality for myself. They said that would be fine and I headed out. I was happy to meet an extremely nice couple with a nice house and a mattress that was all I had dreamed a crib mattress should be. They hadn't used it in a couple years but it was stored in a closet in plastic. I bought it for $35 no need to haggle as it was already a great price on a mattress in like new condition that retails for $120. Another craigslist success and a mattress I would recommend to anyone.

As for the free one we were going to try to use it as a dog bed which was something I found out many people do from reading the reviews on others. Sadie likes it, but unfortunately Charlie only wants to tear the sheet we put on it, and I dont want him to rip through the vinyl cover. So I think I'm going to try and sell it for more money to decorate the nursery.

Crib all ready to go
Another thing I've been working on lately (not directly related to the nursery project) which I mentioned the last couple times is putting everything together in a universal registry. I checked out a couple sites including Amazon but ultimately I decided to go through onebabyregistry.com It was a big undertaking to pull together everything I wanted, and I wanted to list for each item all the places it was available so people had options if they wanted to price shop like me. I really like that it does put everything in one place from many different stores. I also like that you can add your own entries so I could write generic things like books. And I like the option to add local and specialty stores. I'm planning to cloth diaper so I was able to add a local store here that sells diapers and accessories and has a great trial program where you can find wich brand/style of diaper works for you.
Of course I have a few concerns about the universal registry mainly, if it will be easy/accesible for everyone to use. It can be used for online shopping in that there is a link embedded for each item so you can purchase it directly, and it can also be printed off to be taken shopping with you. The other potential problem is that once you do go shopping you have to physically go back to the site and say that you purchased the item. I could see people forgetting that step and ending up with a lot of duplicate gifts. But I think I'm willing to give it a try. Here is the link if you want to check it out for yourself to see how it is laid out and you can always leave me some feedback if you think it is a workable idea or not. http://www.OneBabyRegistry.com/myregistry/?i=22525


So I probably won't have much to say about the room again for a while, but we are going to get a 3D ultrasound on Thursday so I will be back to share that experience for sure, probably on Saturday.

February 2, 2012

Day 24

I never knew I could be so in love.........with blinds! (More on that later)

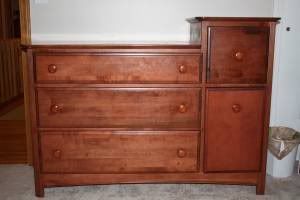
Yesterday we drove out to the other side of the city to pick up a dresser/changer from Craigslist, and went to pick up the blinds. Shopping from craigslist is always a little risky (serial killers aside) but I do it quite often and I love it.

This particular piece caught my eye a while ago, before we even had the crib, but I was waiting on it. First I wanted to have a better idea of the crib color, and then I just didn't have the cash. But I kept an eye on it and even after the seller lowered the price from $100 to $90 it was still there. Finally I was able to contact the seller and even though I thought $90 was an okay price, I wanted to get the best price I could so I asked her to name her lowest price, she said $75 and I said I'd take it. When we got there I was very happy to see that it was a high quality piece, very solid and well made. To be fair it does have a few scratches, and the color doesn't quite match our crib, but overall it was a great find!


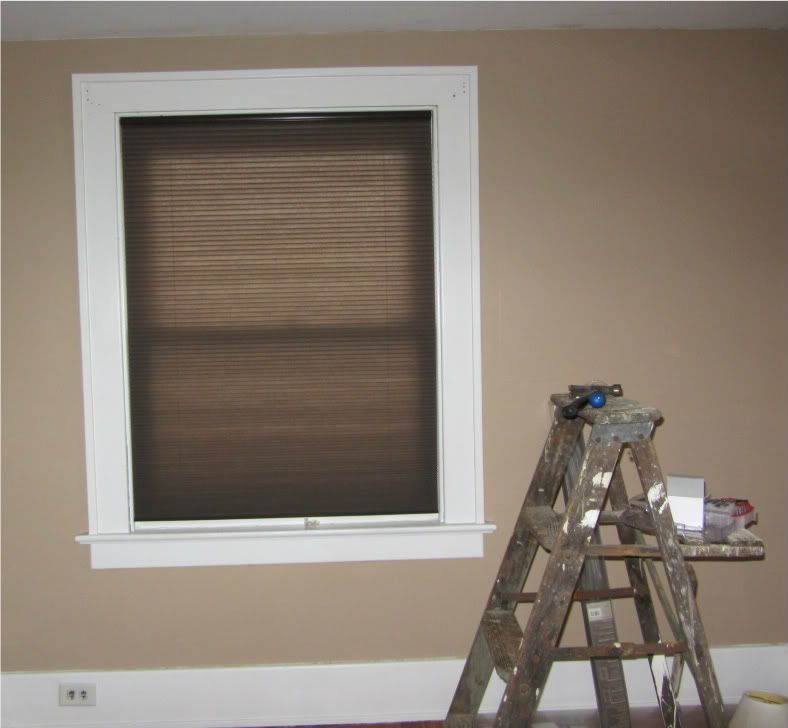
From there we went to Bed Bath and Beyond for the blinds. Because we live in a parsonage the blinds are something the church is "responsible" for, but we wanted something a little higher quality than they had previously had, and I wanted cordless in order to be as safe as possible. Also the windows are pretty wide at 39" all of which combines to equal a little bit of a higher price tag.  So I searched for the lowest price, and found a coupon and checked to make sure the church was okay with the cost. We ended up getting some honeycomb cellular cordless blinds and I believe the brand is Insola. The total cost was $97 and change. We went with the dark brown to match
with the crib and to get maximum darkening benefits for nap times and early morning. Today I spent a couple hours putting them up and I am in loooove! They weren't hard to instal and would have even been much easier with a drill but I don't have one and I was too impatient to wait to find one I could borrow. So I made a pilot hole by hammering a nail in and then removing it and screwed the brackets in with a regular screwdriver, elbow grease, and determination. Even with the extra effort it wasn't bad and what took me a couple hours would take probably 20 minutes with power tools. And they look amazing I'm so happy with the purchase. Seriously If you want to do one thing to make your house look better, install these blinds. Seriously do it now!


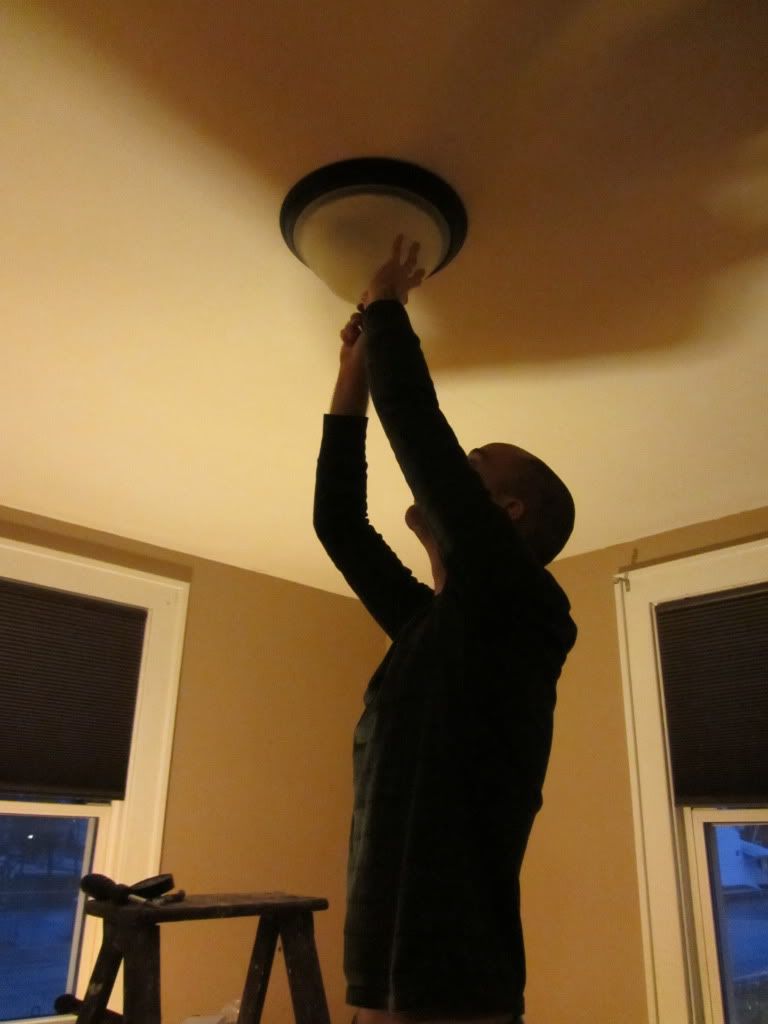
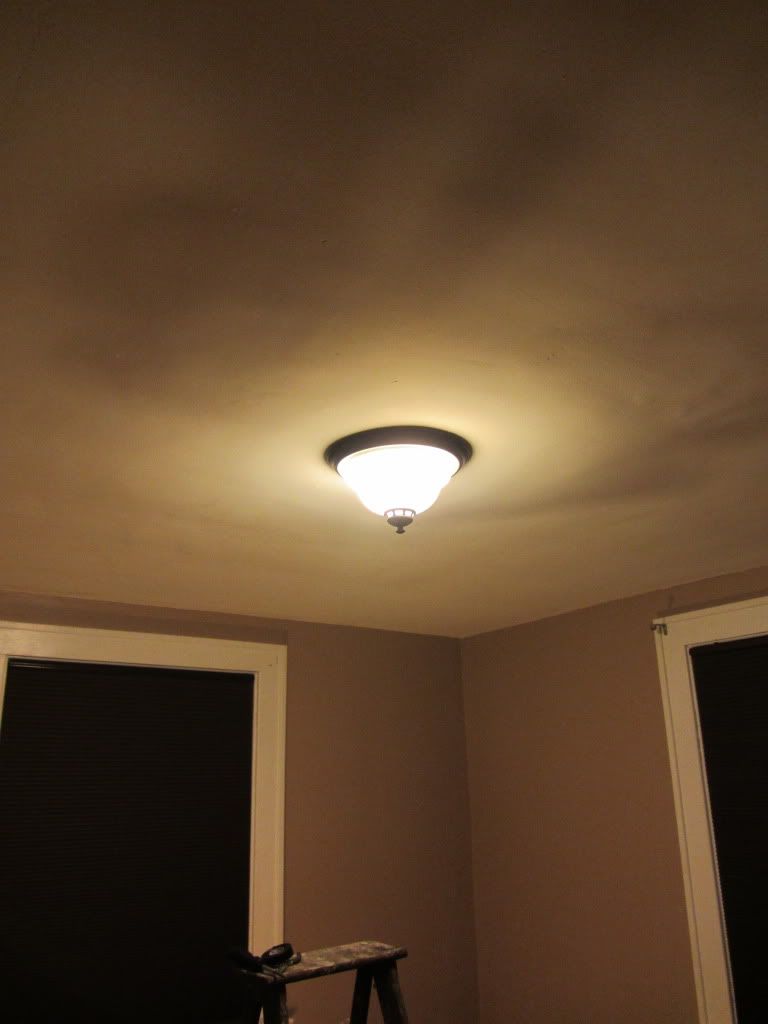
Also today I went out to Lowes to get our new light fixture. Of course I got an awesome deal again and picked up one for $17.00 and I actually like it the best out of the other ones in the under $30 range. It's the Portfolio brand. D and I worked together to instal it and let me tell you I will not be upset if I never have to put up another light fixture again, what a pain that was. Im sure it might have had something to do with the fact that it only cost $17 but it can also be blamed once again on our lovely old house.


The instructions were so simple and stated that it was easy to instal in about 20 minutes. I think it took us most of an hour. To start with it said to attach the black wire to black and the white wire to white. Sounds easy enough except our wires were so old and dirty and damaged that they were both a dark grey. So we just guessed and figured it would either work or not work. That wasn't so bad just a little confusing. The hard part was assembling the darn fixture where none of the screws lined up as they should and one wouldn't even hold the light to the ceiling and another had to be lined up just so and of course this is all happening while the light is supposed to be held flush against the ceiling yeah right. Oh well eventually we got it up there and it was time for the big test. D went down to turn the breaker back on when he got back we flipped the switch together and....it worked! I still have a small fear that we might have done something wrong and it could catch on fire or something haha but the rational part of me says we didn't do any real electrical work so it should all be fine.


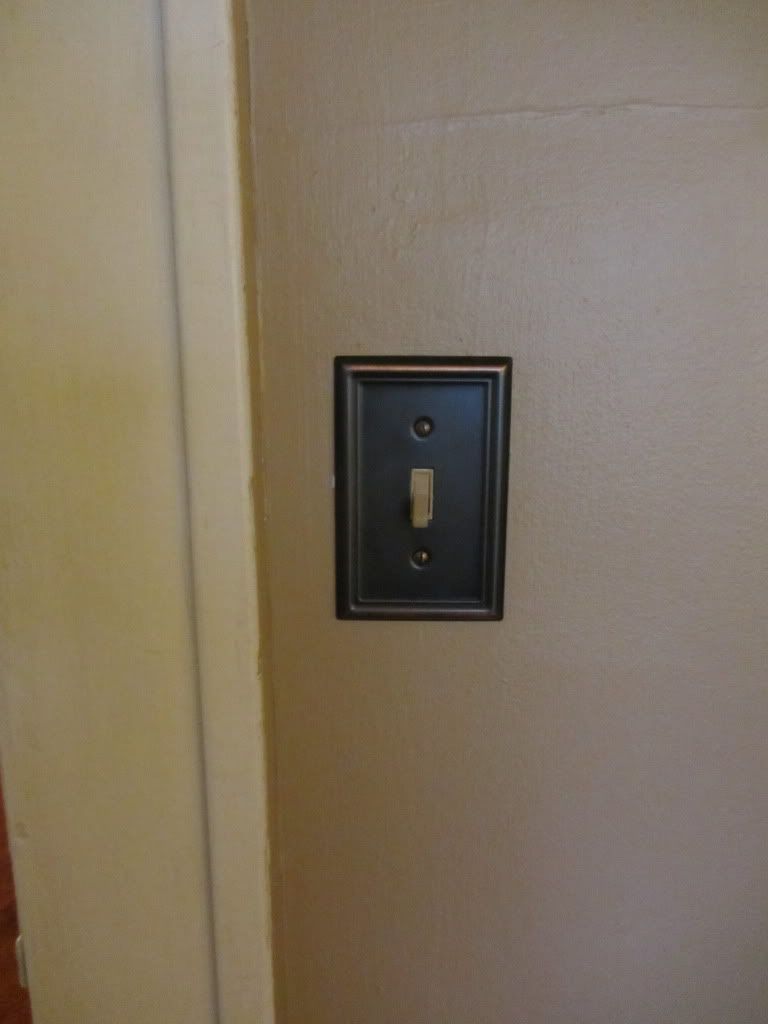
And I stumbled across this pretty switchplate while I was out and for $3 I just had to get it. It's a minor detail but it looks alot better than the off white plastic one that was there.


So now that we have window coverings, a light, and a dresser the room is really starting to come together. Unfortunately all the work today made quite a mess so I guess my next project will be cleaning again. Probably not until Monday though because we have other stuff going on the rest of the weekend.
Happy SuperBowl watching.


Links
Insola Cordless Blinds
Portfolio Ceiling Light

January 31, 2012

Day 22

My Little MVP
Well things have been at a standstill as far as physical work to do in the room. This week I will be buying the last few things I need in the room such as blinds, a light fixture, chaning table and a mattress so I will have more work to do there. In the meantime I've been "shopping" (aka pinning things on Pintrest) for decorations to bring the room together. The design concept is a sports theme Which D picked based off the bedding set "My little MVP" by Nojo.

We got the bedding set used on craigslist for just $50 which is a great savings since it's like $180 new. The bumper and crib skirt are in perfect condition and the quilt is pretty good. The only problem is that after it got washed some of the appliques pulled away from the stitching which I read in the reviews has happened to others. Im not really worried about it, the set has a rustic feel about it anyway so I think it looks fine. I am going to buy some fabric tape to keep it from pulling up and fraying any more.

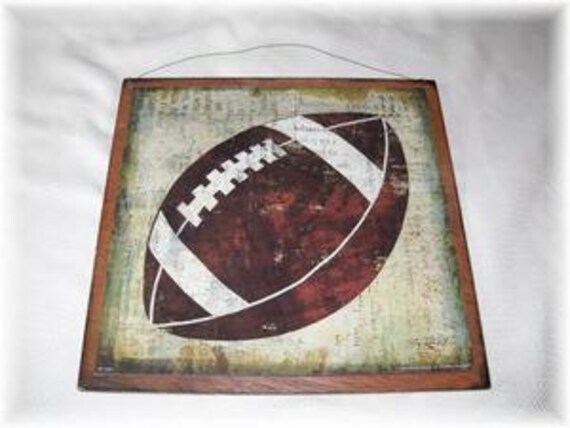
One in a set of 4 pieces of art from Etsy
Since this set is still current I have all the extra accessories on my registry like the valances, the hamper, and the light but I've found a lot of other decorations for the room that I would love to put in there. The problem is they are on Etsy so I can't just throw them on my babies r us registry and so far I don't have the funds to buy them myself. I think I am going to try to find some stuff around the house that I can sell on craigslist for starters and raise some money that way and I am going to try to put together a universal registry if I can find one I like working with. Amazon's is okay but it doesn't really categorize things well and doesn't always transfer pictures. I wish I could just use Pintrest as a registry everything I like is on there lol but not everyone has an account.

Blocks from Etsy


So anyway that's what I've been up to and where I am at. Hopefully I will make some progress this week with the blinds and light at least.


Links
My Pintrest Page
My BabiesRUs Registry
Etsy

January 25, 2012

Day 16

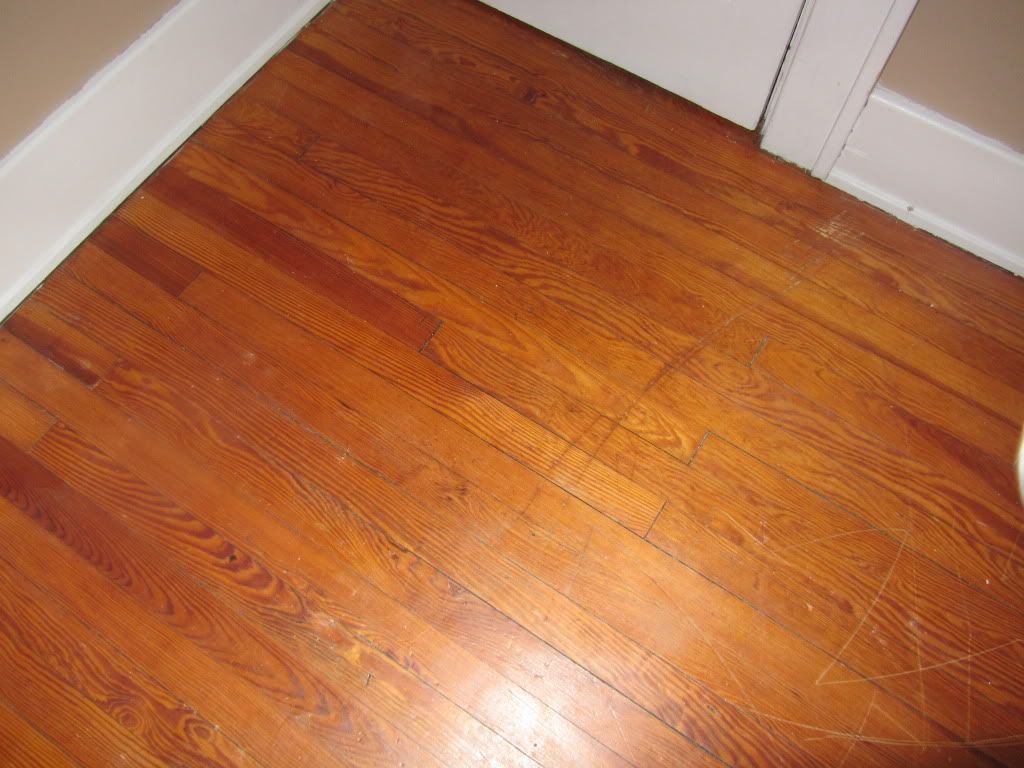
Before

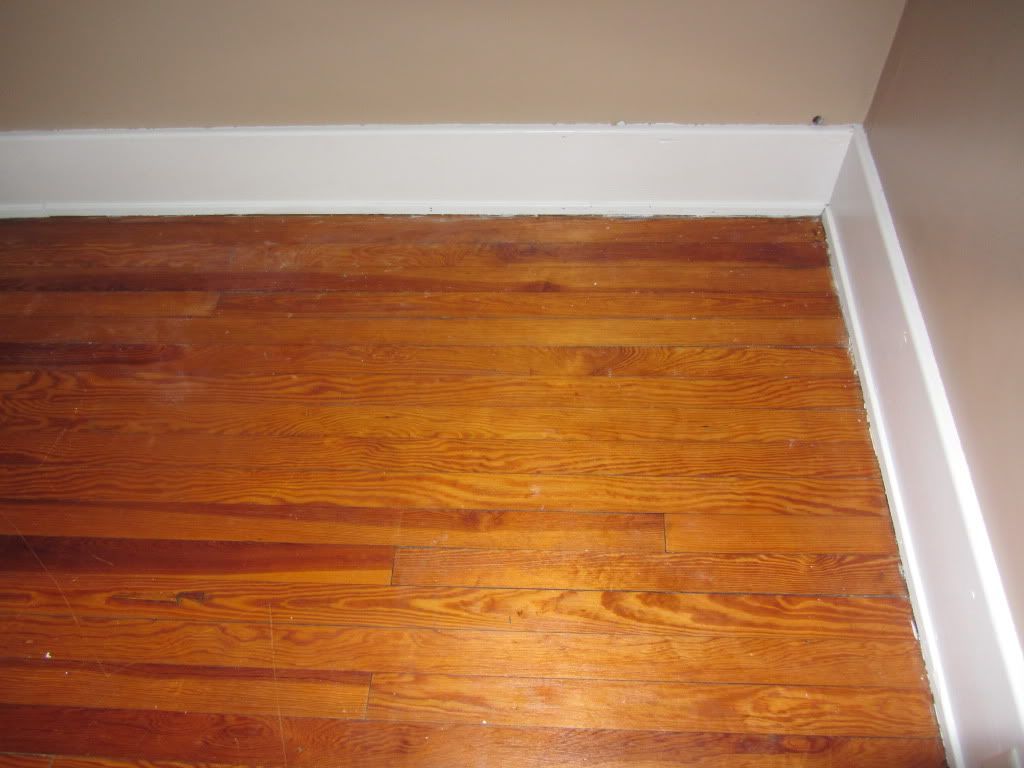
What do you get when you combine a scraper, pine-sol, elbow grease, and 4 hours on hands and knees? A CLEAN floor! Hooray!!


After 


Yes it was painful at times and yes it was hard work and yes it took most of my day and no it's not perfect, but it was worth it. It looks so much better and besides the crib it's the one thing I've done in there that I am completely happy with. Maybe I'm neurotic and nobody else would care (clearly no one else did before me) but having nice floors is just important to me.
                   
Before
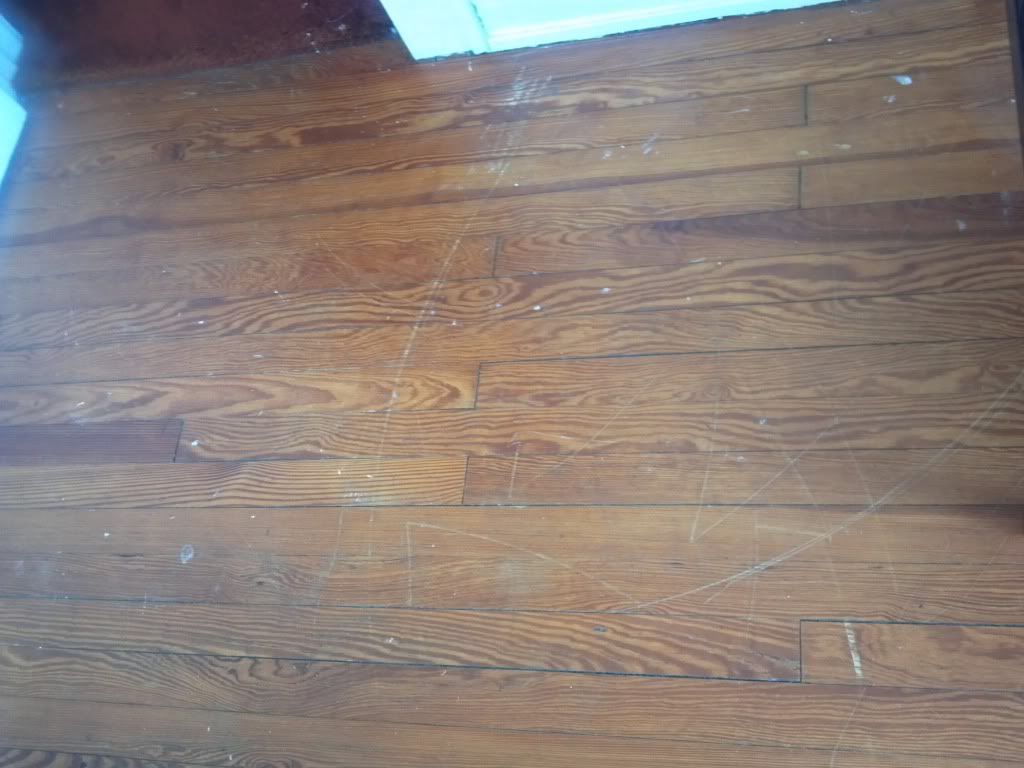
So how did I do it? Obviously not the professional way but it worked. Since the floors are already old and damaged I wasn't too worried about bringing up the finish a little bit, but clearly it would not have been a good idea to strip the whole floor so the first round of battle was waged against the big globs. You might think the globs would be the hardest but actually they are the easiest because I can get the edge of your scraper under them and just pop them off, no solvent required. So I took all of those up. Next it was the smaller and more spread out splotches. They don't all have as defined an edge so I had to scrape a little harder and a couple times I had to put some pine-sol on a rag and hold it over the spot for a minute to loosen it. Now all of this should equal a major improvement. However, if   you think about it those dont really draw your eye,  not like those big ole smears.


After

You know what I mean where someone tracked
paint with their barefeet or sat down with some on their butt and especially those spots where they noticed they spilled and cared just enough to do a crappy job wiping it up. Now it's full blown war. These lovely smears are snug against the grain of the wood scraping is only going to lead to scratching and you can scrub with a cloth as much as you want these babies ain't budging. So I pour a small amount  of pine-sol directly on the smear and spread it out to coat the area evenly. I let it sit a few minutes and then attack with a stiff bristle cleaning brush followed by the scraper for any stubborn spots then wipe up with a rag. All in all it's not that difficult of a process as in anyone who's willing to put in a little effort can do it. Just keep in mind there are probably better ways to do this if the integrity of your floor finish is very important to you but if you are careful this method doesn't really hurt an already less than perfect floor.

January 24, 2012

Day 15

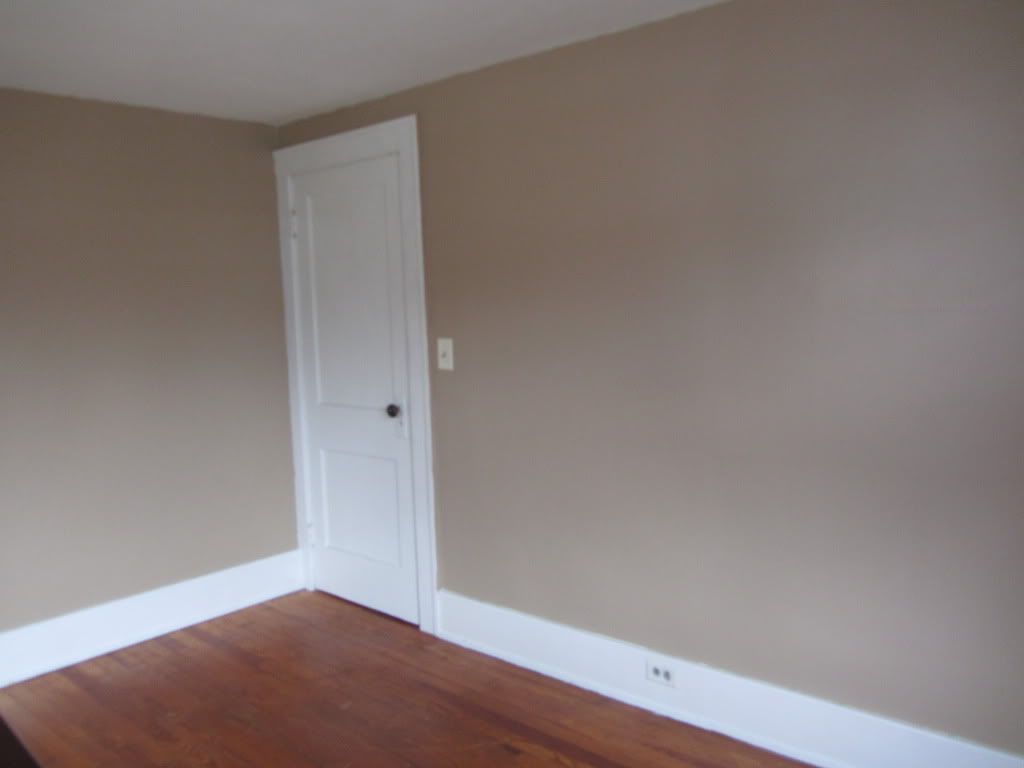
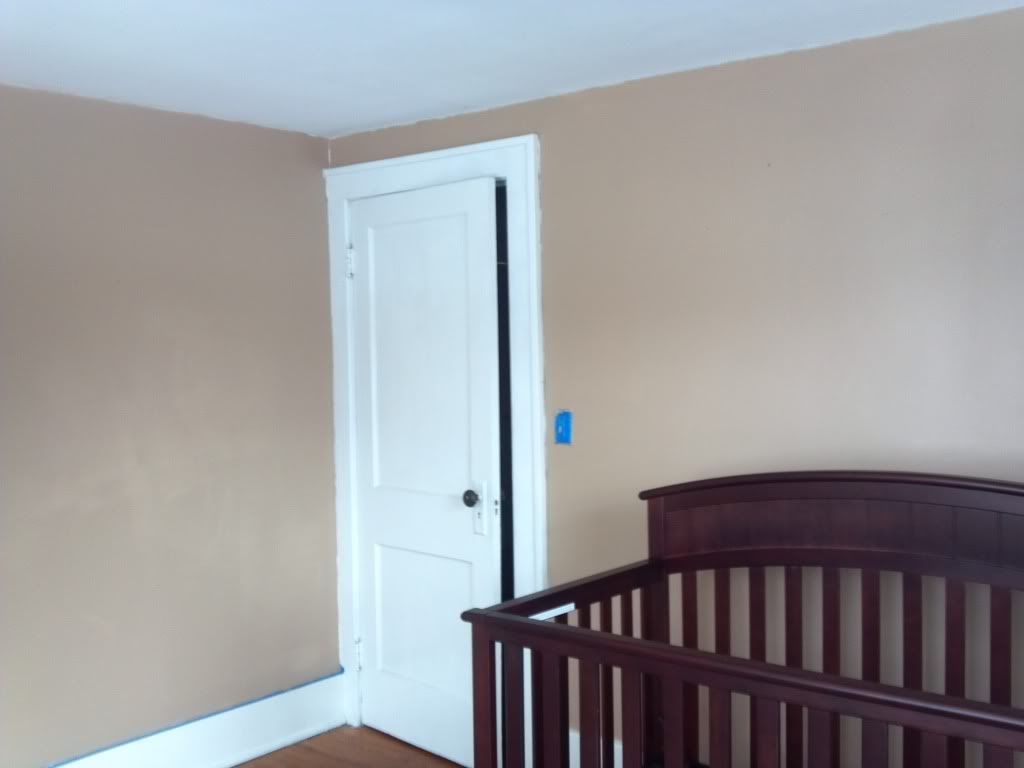
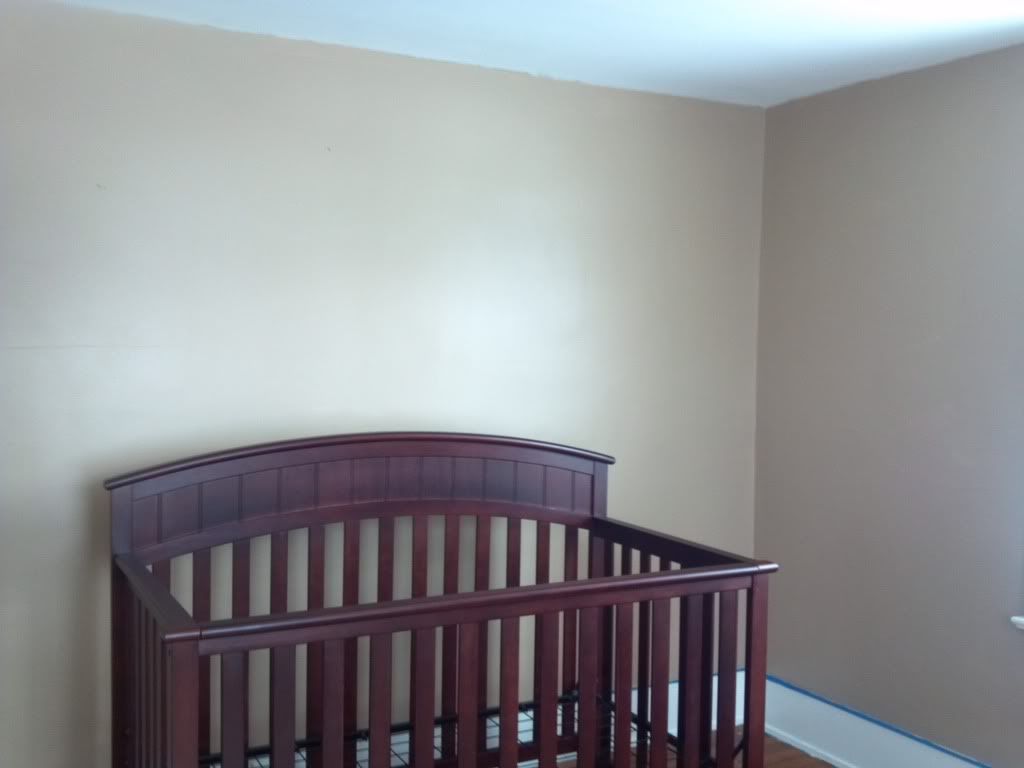
Finished


I finally got back in the room today and put on the second coat. It looks pretty good but it was not an easy room to paint, the walls are in really bad shape and of course I'm limited by finances so I cant really do everything I want.


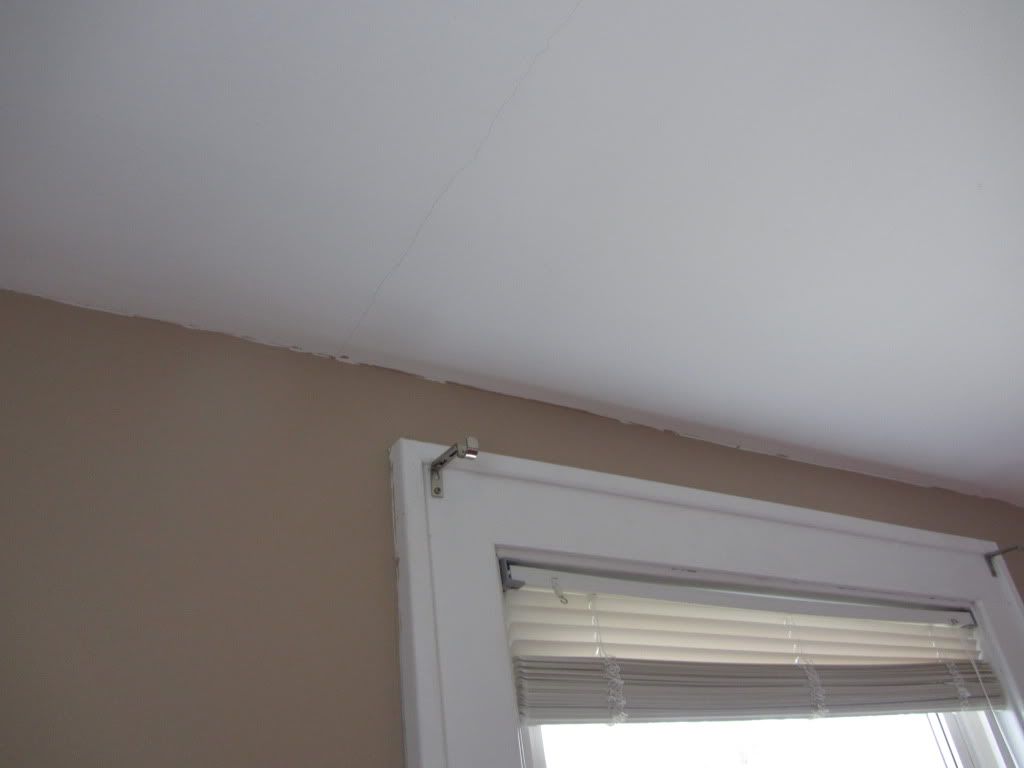
EEEW
One thing I still have a problem with is where the walls meet the ceiling, it's in terrible shape and the paint is still messy even after taping it, and using an edger. It really needs a crown molding but that's not happening so I hope that once there is more in the room it wont be so noticeable. It's okay at a distance but up close, yuck. I also dont like that all the trim is white but it has a ton of paint on it and the white is a gloss so to do it right I would need to sand it down and I just don't have the time, energy, or resources to do that, so it stays white and again I hope that when all is said and done it won't stand out as much.


Tomorrow will start the biggest and hardest task which is to get all the old paint up off the floors. Yay.

January 14, 2012

Day 5

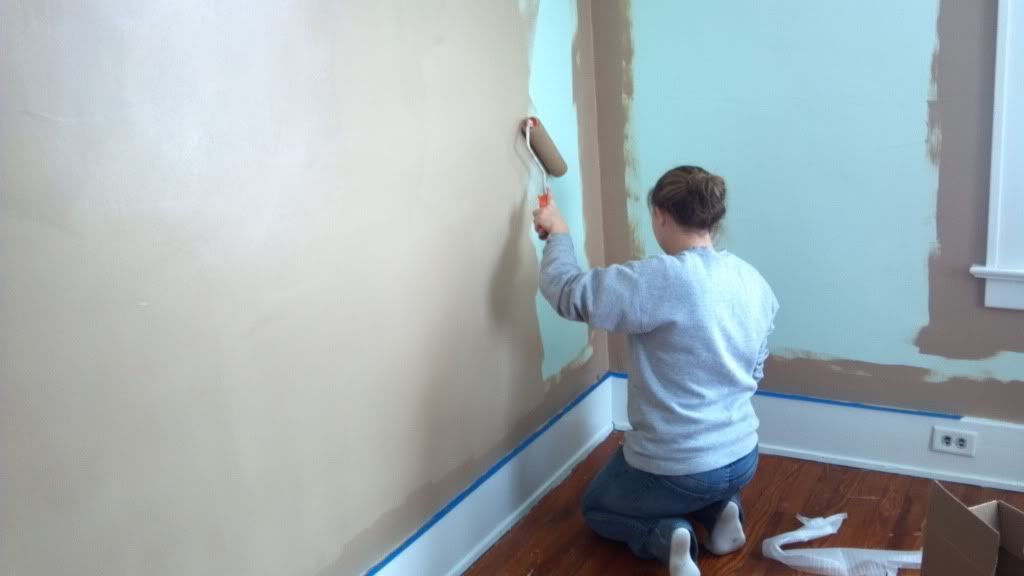
Working hard 

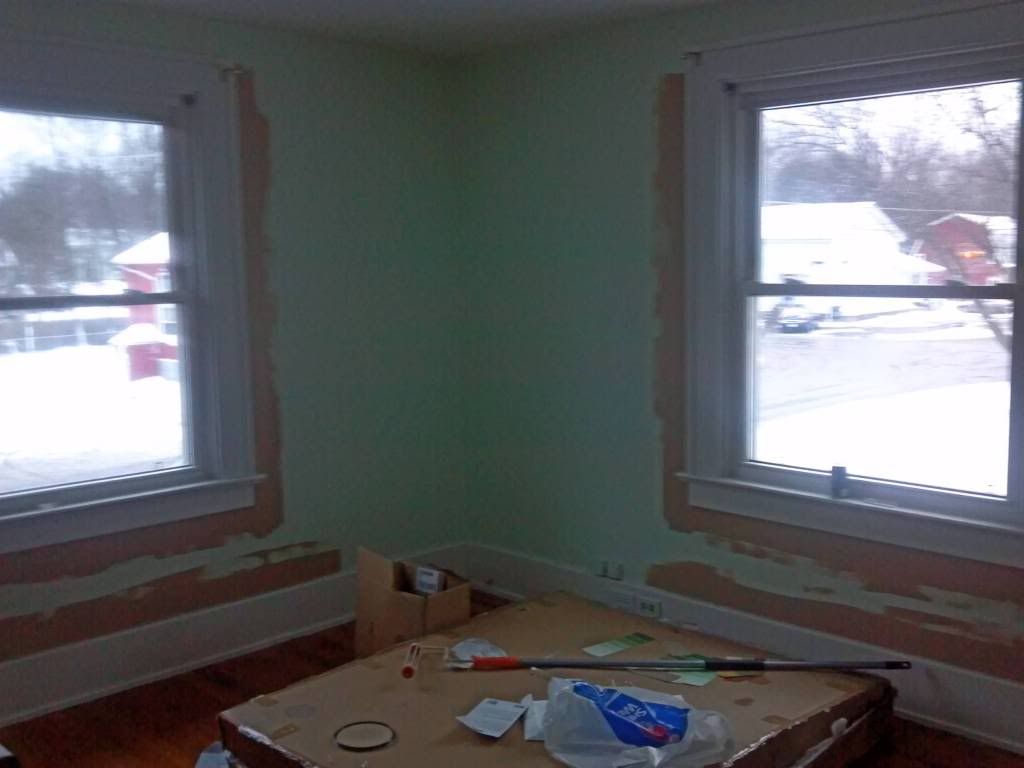
One of the challenges with an old house is that the walls aren't flat and there's a lot of dents, cracks, nicks, and holes which makes painting very tricky, particularly around the ceiling. So that was my challenge today and I'm not going to lie, it was a little frustrating. This is definitely a paint job that needs two coats. It's to be expected even with a "one coat" paint though as Im going to a much darker color and it has red in it.


You can see the uneven paint 

However, I don't like doing two I always feel like I'm just putting too much paint on the wall and there must already be like 8 colors on them haha.    
In fact, I know from places where it was chipping that there is definitely at least four. White, pink, green, and now brown. Oh well you do what you have to do. For now I'm going to let the paint set up for a few days as we are traveling to my parents house. It will give me a good break from the fumes, and a chance to get in painting mode again because I don't think I would have the energy to go right back to it again tomorrow.


One coat down, one to go. 


Seeing the whole room painted, I am glad I changed my color choice. This one is even still a little pink at times, but the lighting makes all the difference. I think it's going to come together very nicely especially once we start adding in the splashes of color like curtains and bedding and art. We have a long way to go before we are ready for that though.

January 13, 2012

Day 4

Yesterday I spent the day making Stampin Up cards for our church ministry caring crafts so the room was on the back burner.


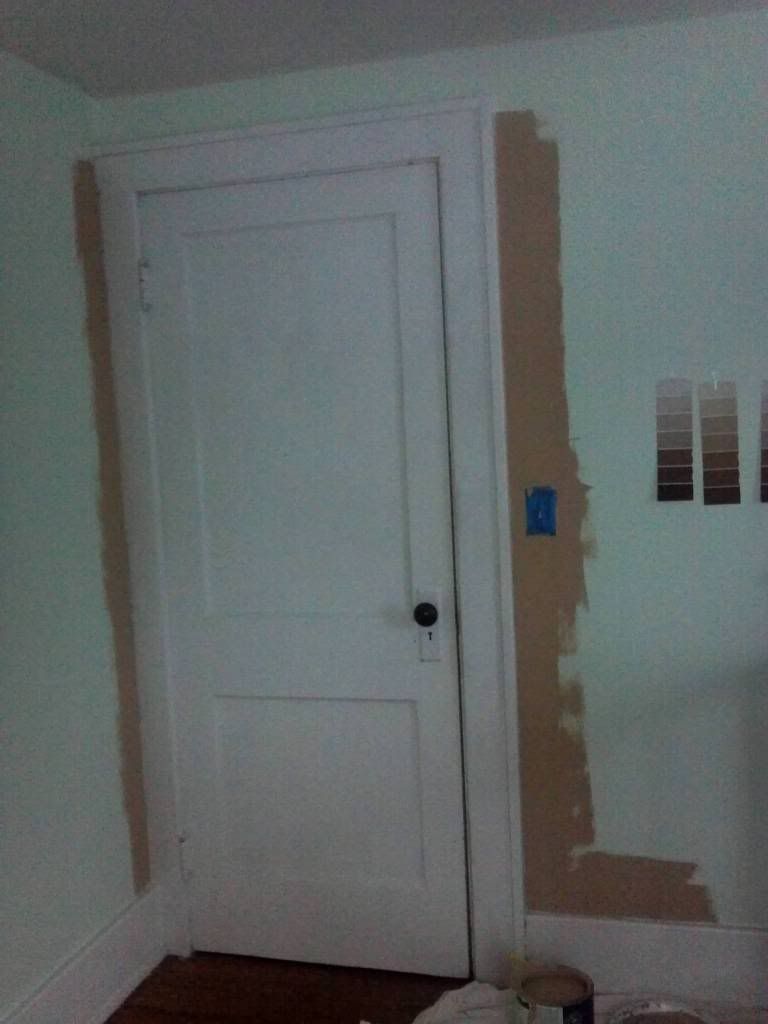
But today I got the paint! In the end I did change my mind as I predicted and I ended up moving over one swatch to Sands of Time. It's a little less red than sensational sand and I decided that would be a better choice to balance everything out. I was really excited and as soon as I got home I started painting around all the trim with my edger. I was a little disappointed that my edger wasn't getting as close as I wanted it to so Ill have to go back in with a very small brush and touch it up later, but the paint went on beautifully.


I only had time to paint around the windows and doors before it got dark but it was a good start.
Tomorrow I will work around the ceiling and baseboards but I can only work in the morning so I doubt I will get to fill in the walls until Sunday afternoon. I can't wait to see how the color dried and how it looks in full daylight.